
Front protection DIY building kit CCM 450 Adventure
2 737 SEK
We got convinced to run another, these time final batch of 10 DIY building kits. We´ll start it when we get at least 5 orders. Delivery end of January 2025.
- Betala säkert med Klarna, PayPal
- eller postförskott
- Frågor? Ring oss! 0653-410 50
- eller maila *
* service@nccr.se
Beskrivning
Art.nr: C100012
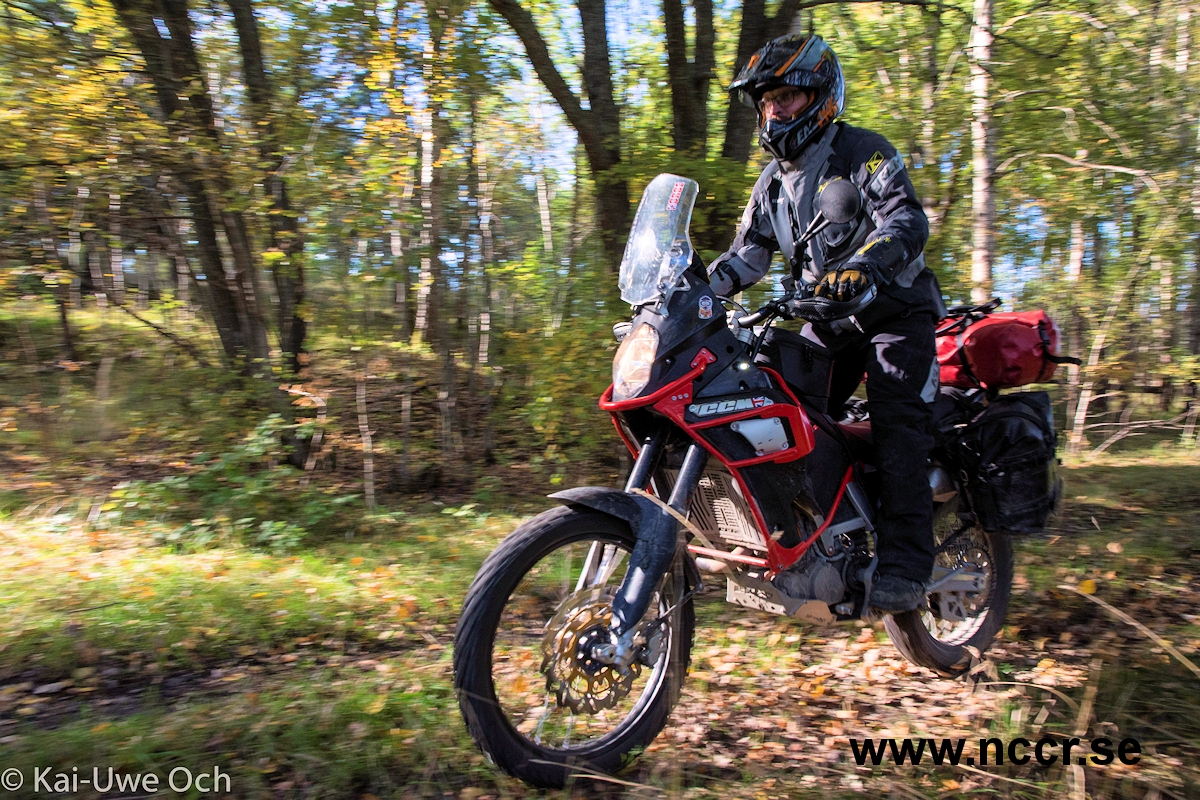
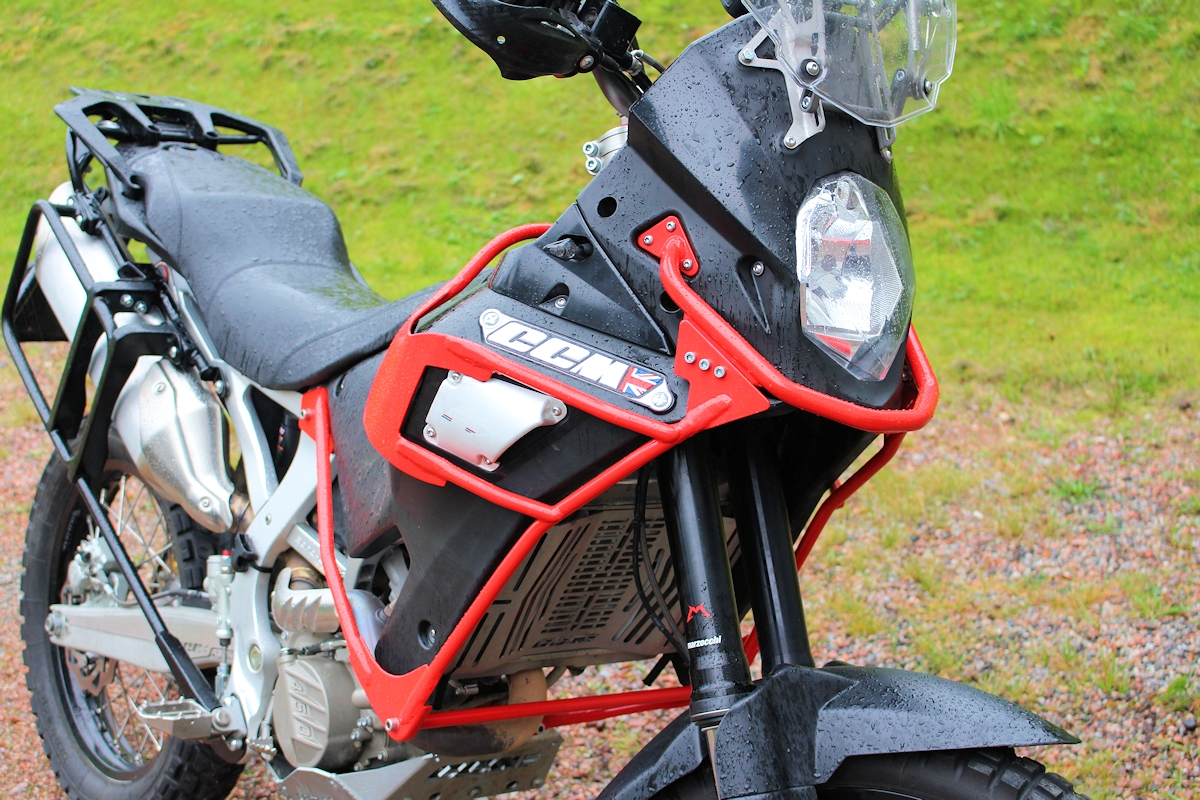
Even if the CCM 450 Adventure is really robust, as our customers already proofed, there is always a risk to damage the radiator or fuel tanks when the bike touches the ground. We also had in mind that the bike might slide on the side and that’s why we thought that the lower opening on the side fuel tank should be protected in a way to prevent the bike from “hooking” in. The top connection tubes not only help to hold the side skid plates in position; they offer also an extra point to fix pockets and accessory.
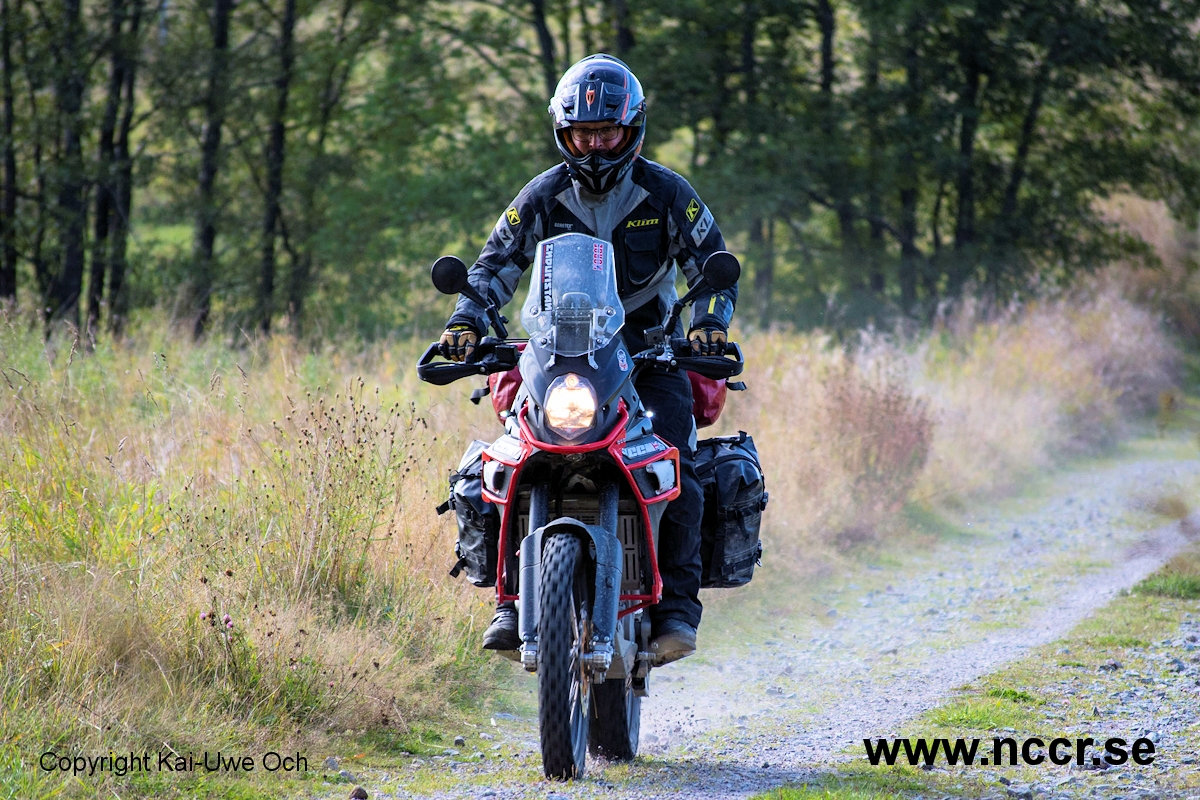
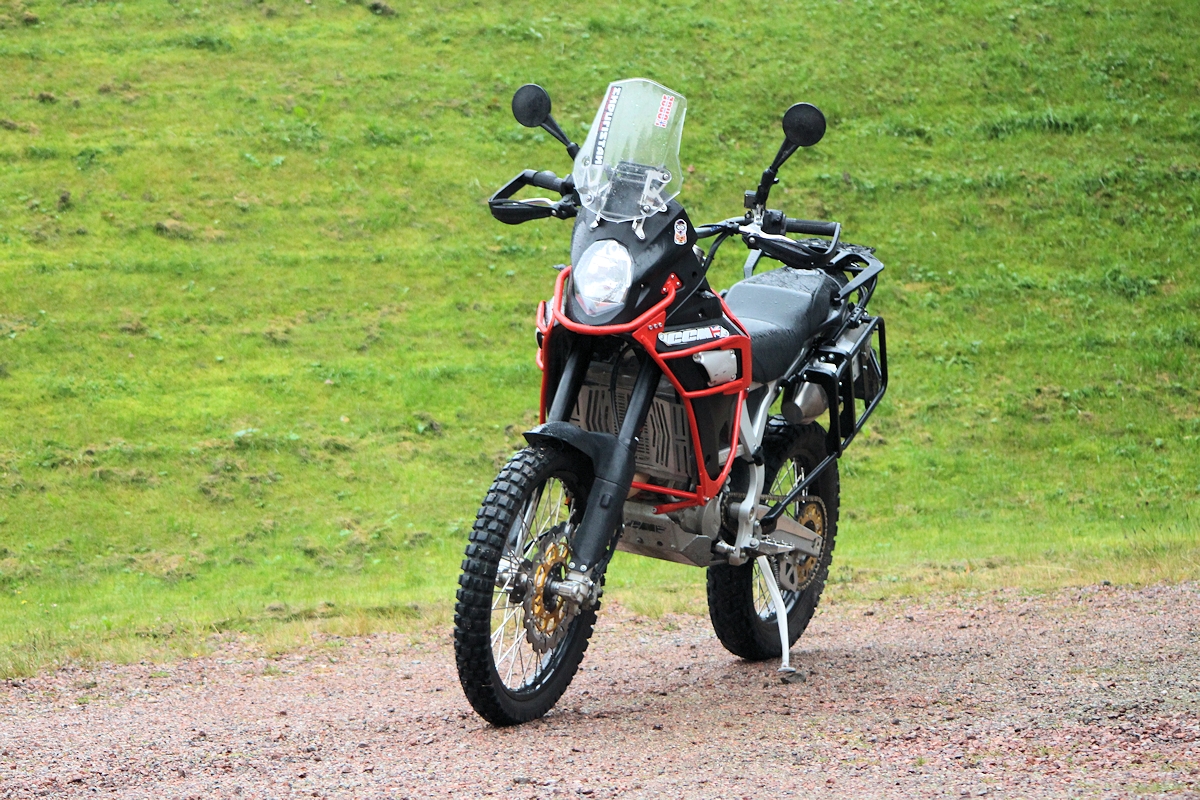
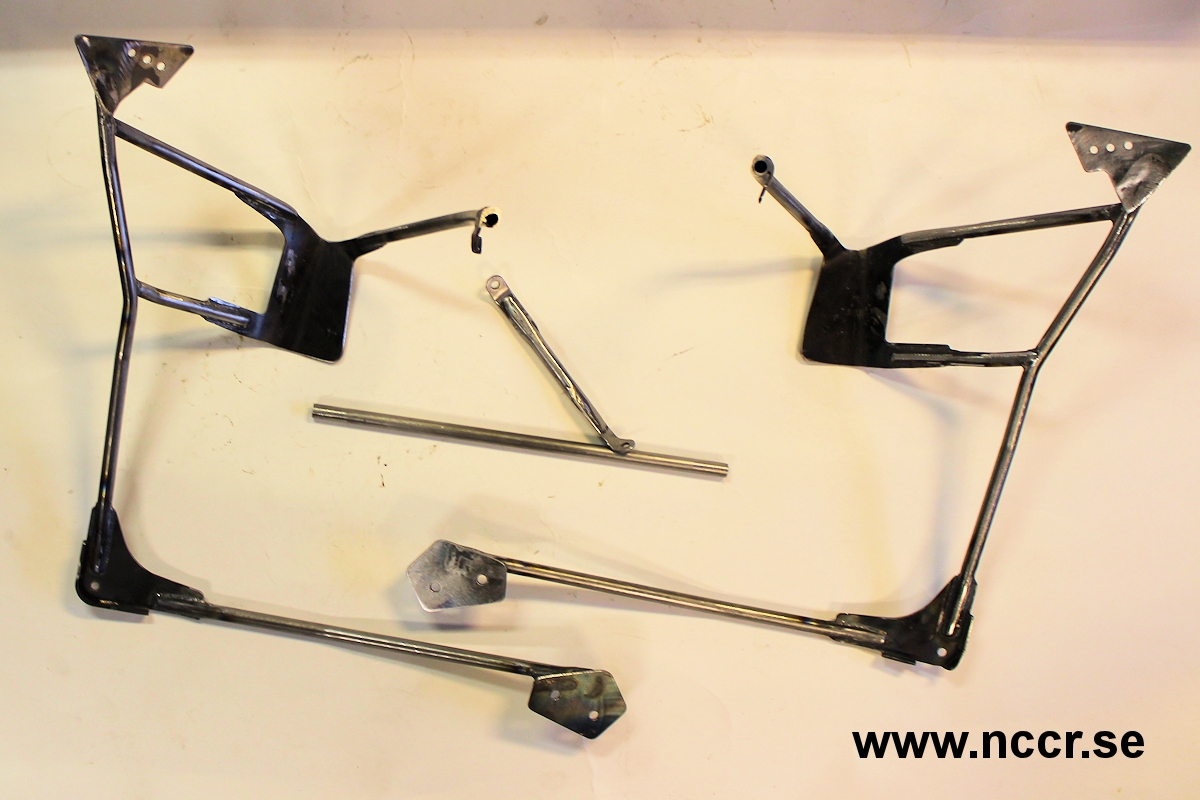
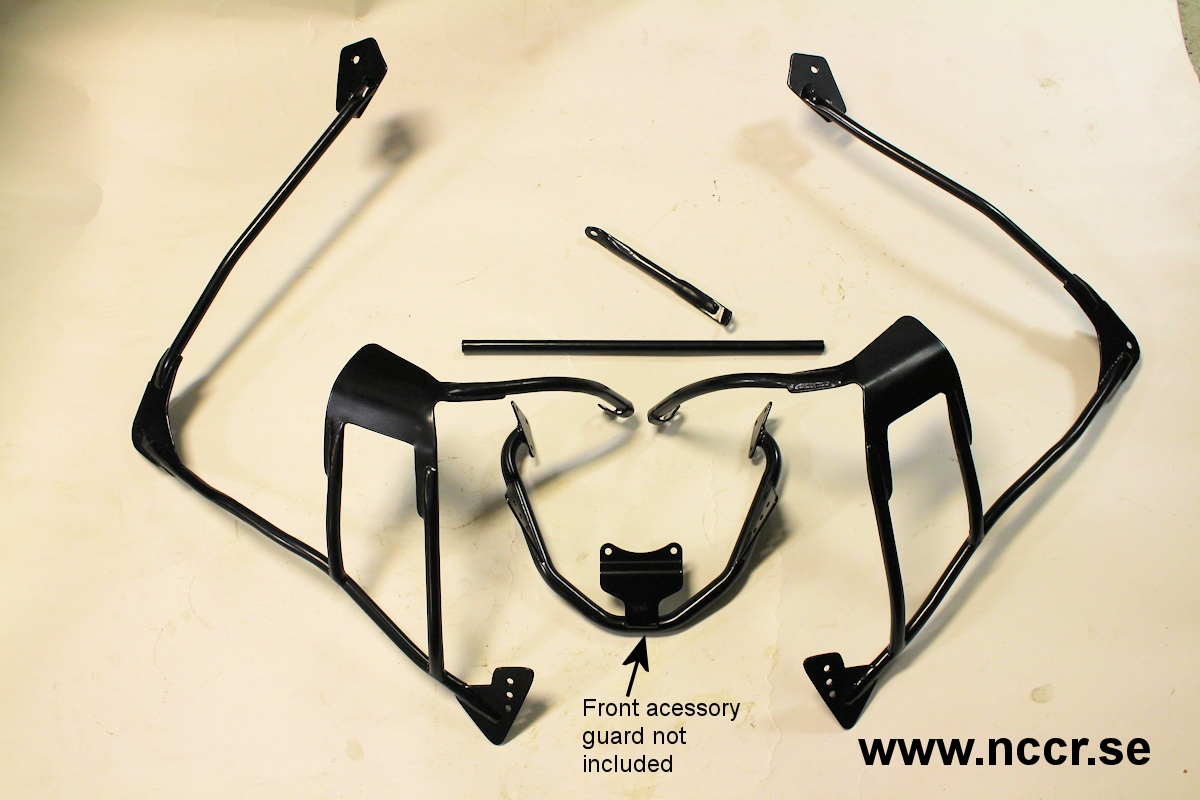
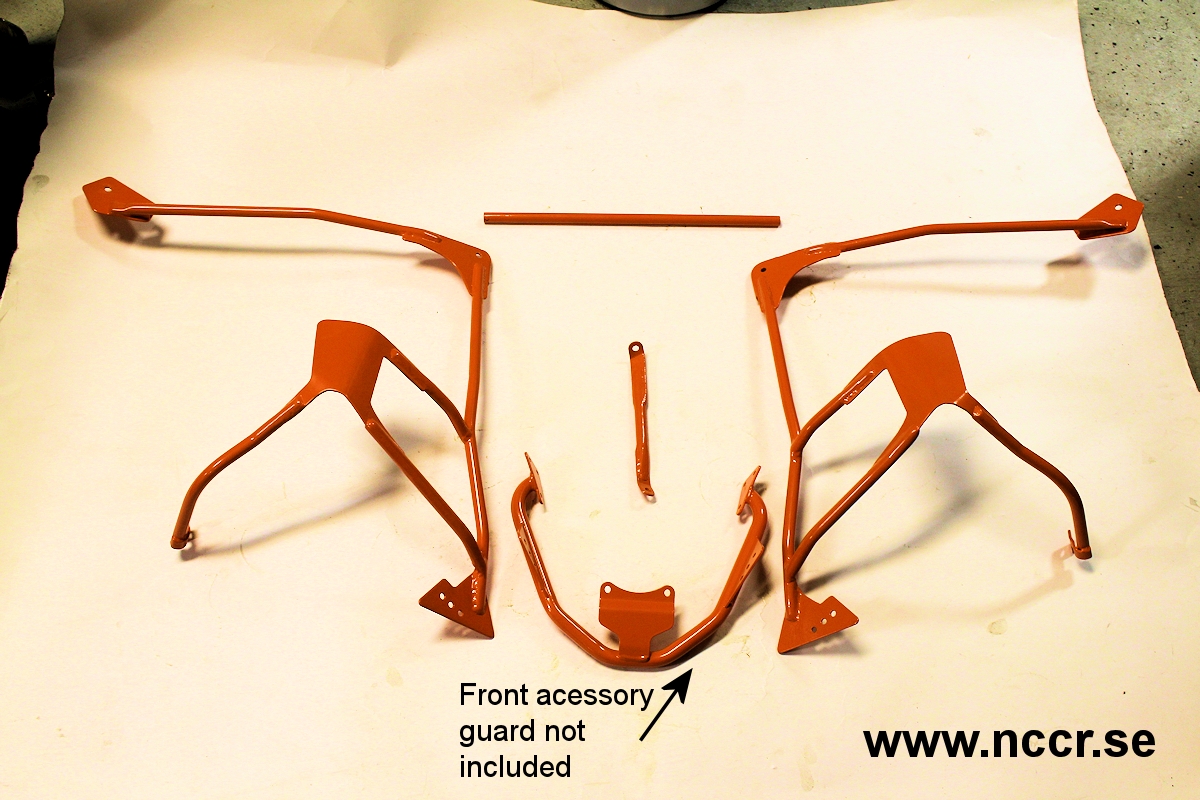
The usually used thick diameter tubes the industry use for front protection systems were for us a no-go when we develop our solution for the lightweight CCM 450 Adventure. Based on 15mm tubes, NCCR developed an extra lightweight (app. 3 kilo only) “rock solid” protection for radiator and side fuel tanks. The horizontal right-to-left connection, what is additional mounted to the factory skid plate, offers for the future the mounting of other options, like an extended engine protection or oil cooler.
Originally our plan was to supply complete welded and ready to mount powder coated parts. Unfortunately we found out in the construction and building process that the ready product need to be priced much higher than expected, in the range of 500-600,00 Euro and also the shipping costs would be very high. So decision was made to sell the CCM 450 Adventure Front protection only as a building kit.
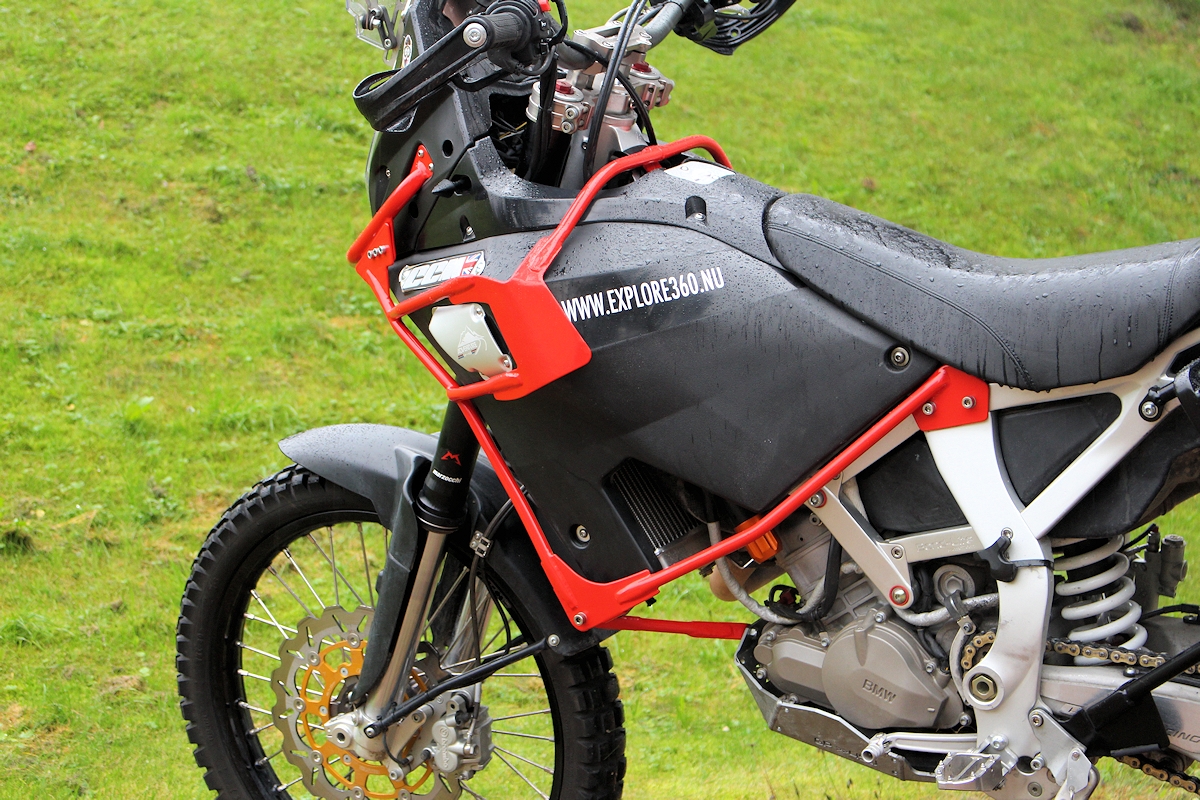
Our solution use the optional from the factory offered front accessory guard as the basement. From there tubes route down to the lower front tip of the fuel tanks to a 3mm steel plate. Another tube goes from there to the frame mounting points near the seat.
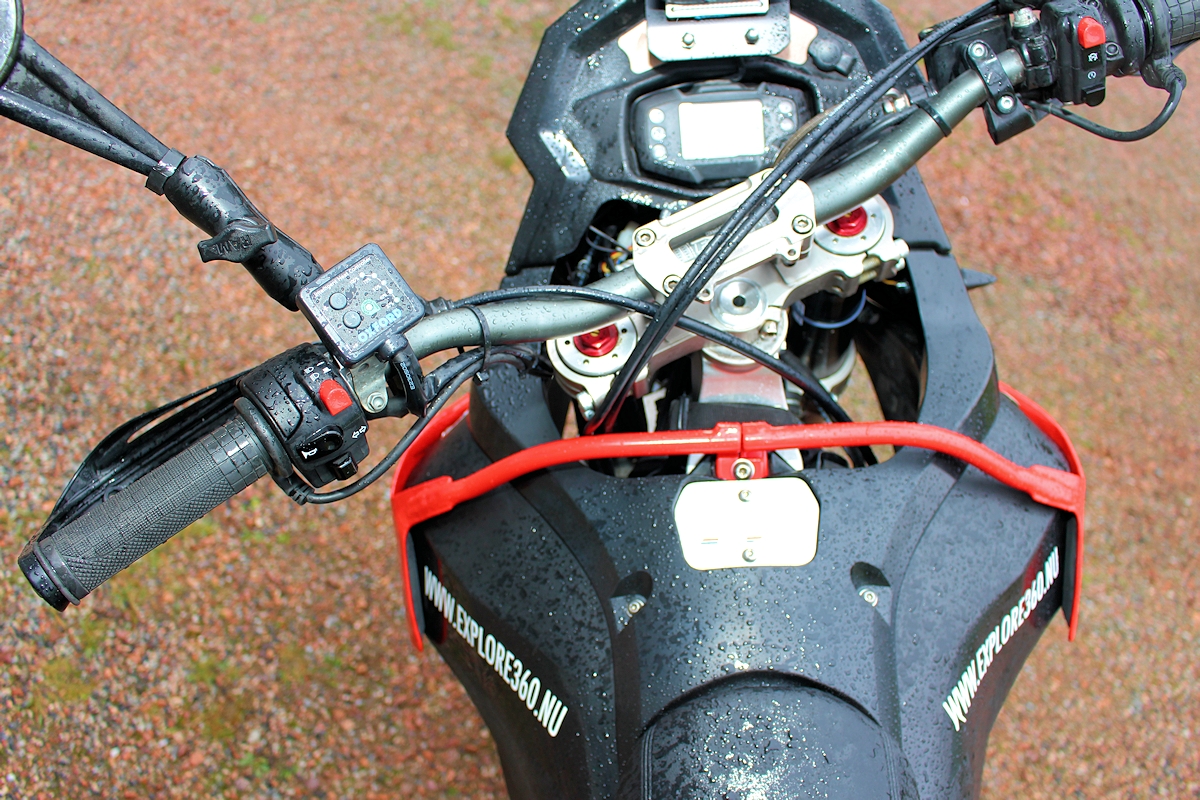
The right-to-left connecting tube with a link to the Skid plate and the 2 upper tubes connected to the bodywork mounting point at the steering head complete the set-up.
The kit includes:
-All Waterjet / laser cut mounting plates, pre bended
-All tubes, CNC bended, size 15mm diameter
-Straight right-to-left tube with M8 bushings
-All mounting Hardware, nuts, bolts, bushings
-Zip ties, plywood and all needed for the mock-up
-Detailed pictured mounting instruction and full builder support by email / phone
What skills you or your builder need to have:
Because of the clearances and personal demands the tube pieces are not end cut and prepared. So you need to be able to cut and prepare the tube ends.
The Front protection system will be built at the bike, so you need to bring the bike to the builders place and you need to be aware that spot welding will happen on the bike to get the parts into place. We weld our parts with TIG, but MIG will do the job as well. Count in one day to have it all in place and finally full welded.
That’s how it will be done (general info):
You start with mounting the upper side skid plates close to the CCM badges and continue with the pre-cut plates at the CCM front accessory guard. The plates on the main frame close to saddle coming next into position. You prepare the right-to-left tube and screw the lower skid plates on. Now you mount that unit to the bike and screw the 2 upper pieces near the steering head into the position.
Now all plates are in position as a mock-up.
From that on you cut all parts piece by piece into their positions and spot weld them there. We sliced the tubes on our builds, what makes more work and require double welding (front and rear), you don’t need to do it that way, but we think that this provide addition strength into the system. After spot welding you take the parts off and weld them together.
A detailed instruction will lead you through all steps. BUT you need to have the skills in general; we don’t supply a tutorial for notching, cutting or welding.
Short: Understand what is needed when you look on that pictures or find somebody who do that.
That’s what you will have at the end:
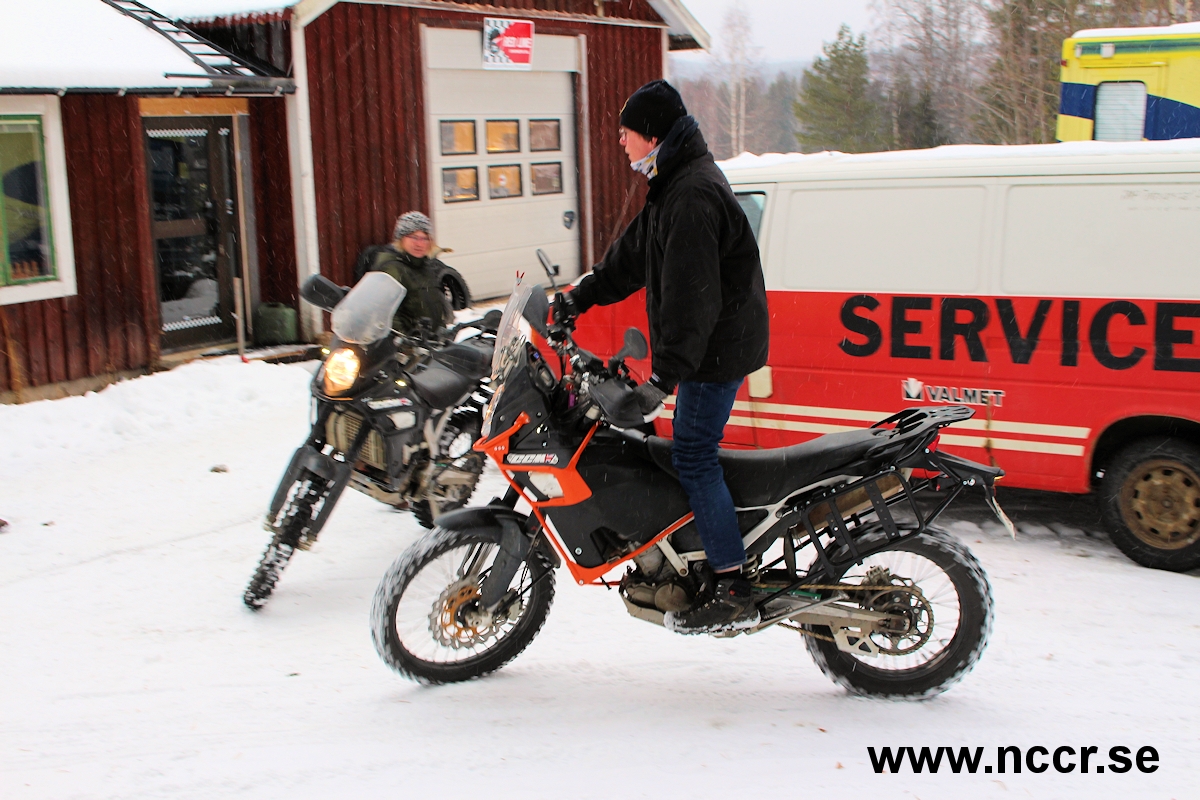
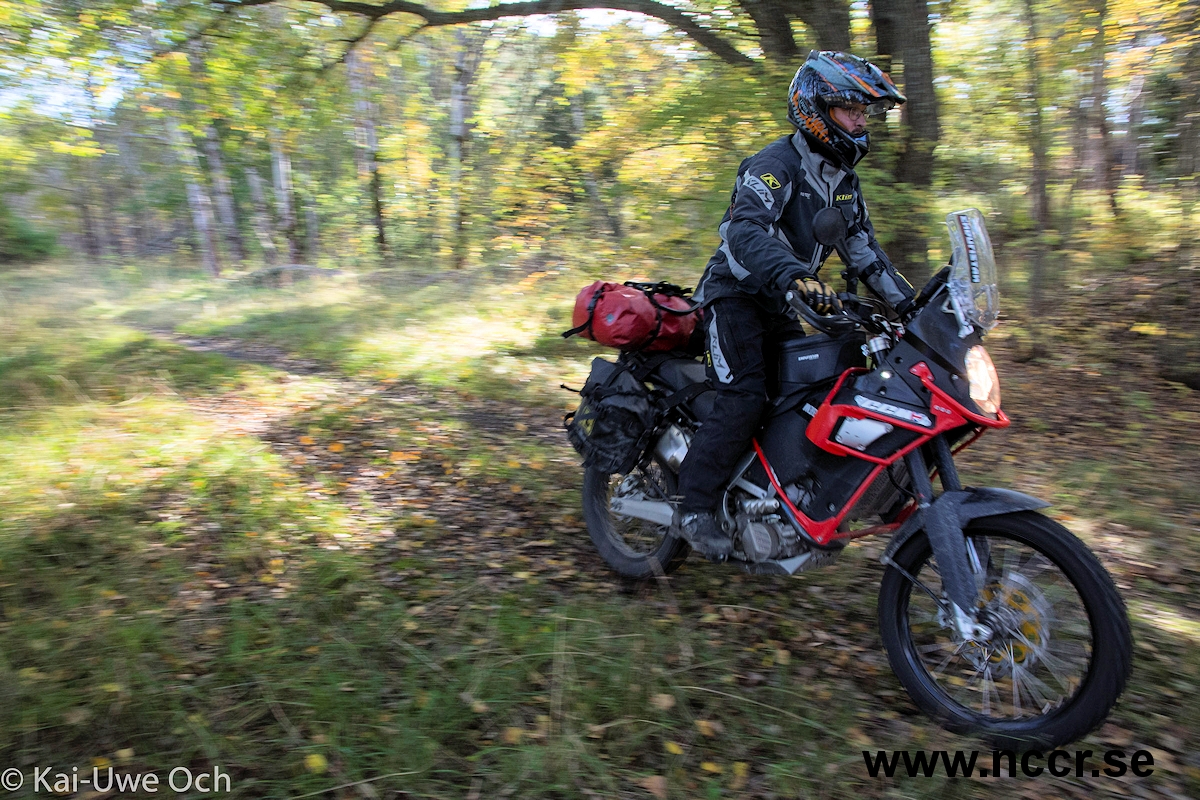
A light and strong front protection system for your CCM what can be removed separately left or right and what offers the mounting of other extra parts in the future. The solid construction protects the front of the CCM 450 (radiators, fuel- tanks, etc.) in case of crashing.
Att: Requires CCM factory front accessory guard and engine skid plate (not included).